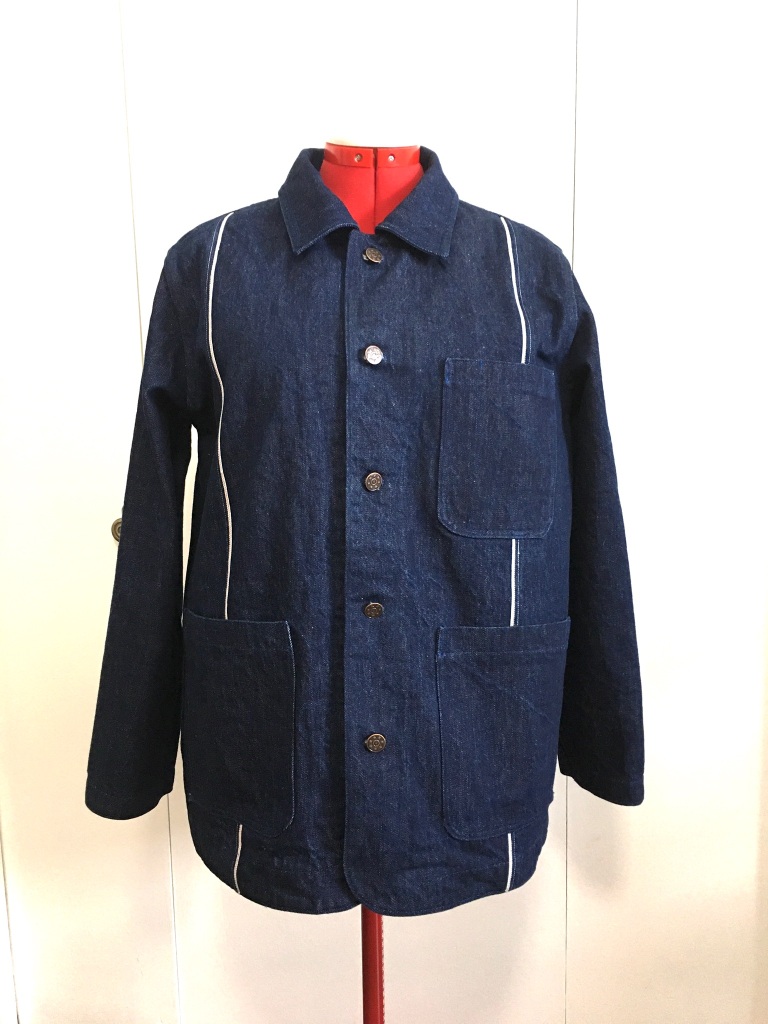
Pendleton Woolen Mills has issued a sewing pattern based on their iconic “49’er” jacket.
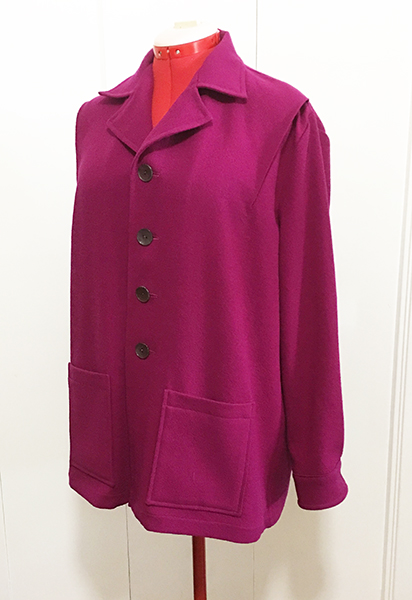
 This is the description from the back of the envelope: The Pendleton 1949 Jacket is based on the original Pendleton ’49er. It is an unstructured, unlined jacket with a straight hem. Button front has a French Placket and peaked lapels. Flanged shoulders allow ease of movement. Long sleeves are finished with single-button rounded cuffs. Two open patch pockets can be cut on the bias, matched to grain or omitted.
In the past, I’ve used camp-style shirt patterns to try to replicate this style, just doing my best to copy that shoulder flange that is one of the key features.
This was a very nostalgic project for me, because I have very clear memories of my mother wearing a jacket like this. Hers was a muted pale green, and was probably a knock-off. I wasn’t too keen on mother/daughter outfits back in the day, but now I’m happy that I can wear something like she did.
 Mine is a screaming purple, though, because I have had this wool crepe in the stash for a long, long time. I ordered it because I knew that it was the good stuff…and was surprised when it arrived and was such a vivid color. I was never going to make it into anything else, so it became the fabric for a test version of this pattern.
I’m really happy to have this pattern and don’t want to be overly critical. After all, Pendleton is a fabric mill, not a pattern company. But I do want to mention a few things that were lacking in the pattern as a heads up for others that might want to make it.
Fabric layouts – the back of the envelope reminds you that you need extra to match plaids. I was surprised, though, that the layout diagrams for 60″ fabric has the sleeve cut out crossways. If your plaid is uneven, I don’t think that would work.
That instructions for that important shoulder flange were not very clear, and even though I can’t figure out a different way to make them, I’m still not sure that I got it right. The tissue has edgestitching marked for the edge of the flange, but it doesn’t seem to be complete or meet up where it should. I am curious to find out if others see this same omission. It could very well be that I just missed some vital info somewhere.
 Some other markings or instructions seem to be missing and would be helpful. There was no match point on the sleeve cap for the shoulder seam, for instance. And there was some topstitching indicated in the diagrams that was never mentioned in the instructions. The diagram showing the topstitching on the lapel looked wrong, to me. Button size was not given. Since some people will be sewing to replicate the real thing, button size would be nice to know.
However, this was not difficult at all to sew, except for wondering about the construction of the shoulder flange. And they gave separate pattern pieces for interfacing, which is a nice touch.
My fabric was a touch too beefy for the continuous lap on the sleeve placket, especially where the placket and cuff come together. So my greatest sewing challenge was due to selecting the wrong fabric. I do love the very heavy drape of the crepe, though.
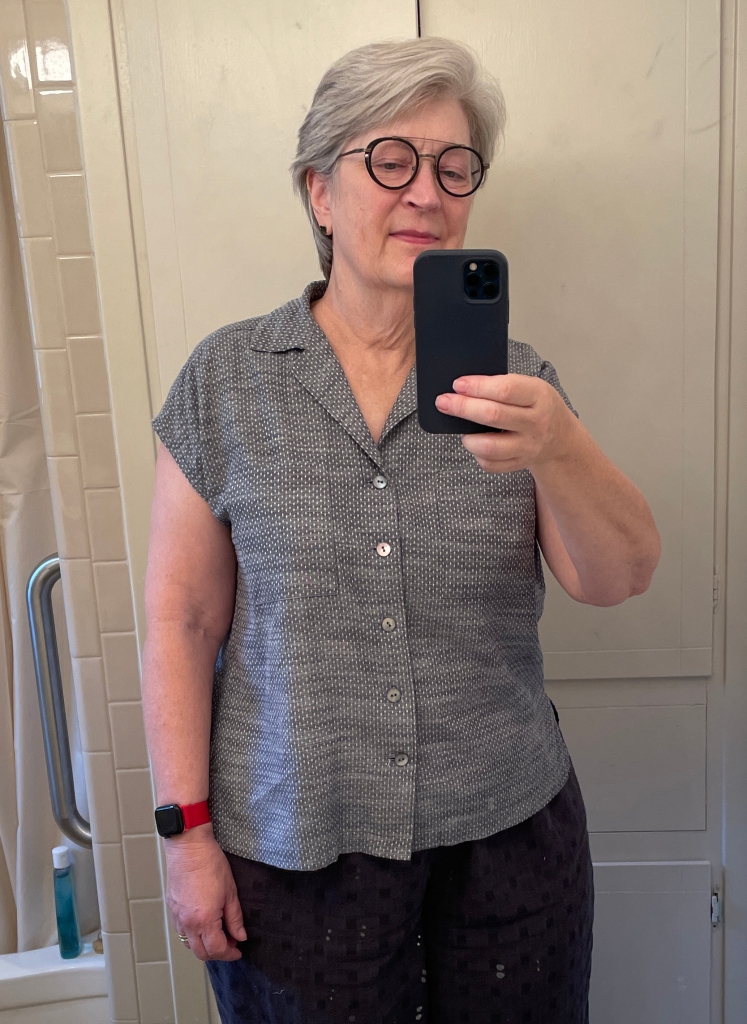
Alterations: I increased the width of the back by making the uptake of the pleats larger. (the back is pleated into a yoke at each shoulder blade) I also shortened the sleeves 1″, and could have made them even a little shorter. Next time I will narrow the shoulders a little and think that will help set the flange. It gapes a little if I don’t maintain good posture. Meanwhile, some shoulder pads will help and there is plenty of time to put them in before cold weather gets here.
I followed the instructions and am glad I did. I would have done a burrito assembly for the yoke. Their method, although it required a little hand stitching, prevents any boo-boos around the neck edge and I was glad to have that come out perfect. I sneaked in some understitching that was not called for, but makes for a nicer finish around the back of the collar and at the front edges. I also did the topstitching on the lapel and collar the way I thought it should be, not the way they showed in the diagram.
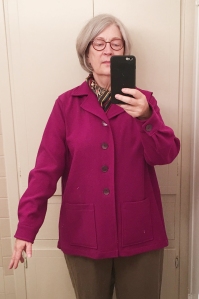 I ended up loving the color made up in this style, and think I will wear it a lot once the weather is right. It’s still nearly 100 in the afternoons here, but cooler temperatures will come. Eventually I’d like to buy the correct fabric from Pendleton in a lovely plaid and make another one.
The sleeve looks twisted in this photo but that’s just the result of taking an awkward mirror selfie.
My pattern came with a fun booklet highlighting styles of the 1900s by decade. If you’re interested in the pattern, here’s a link: 1949 Jacket Pattern

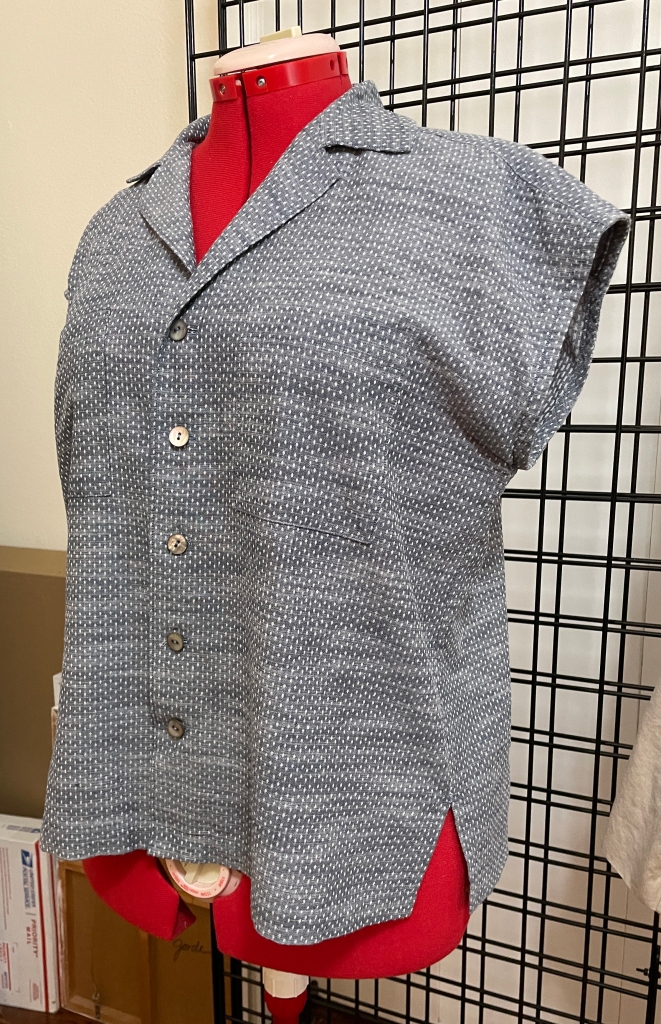
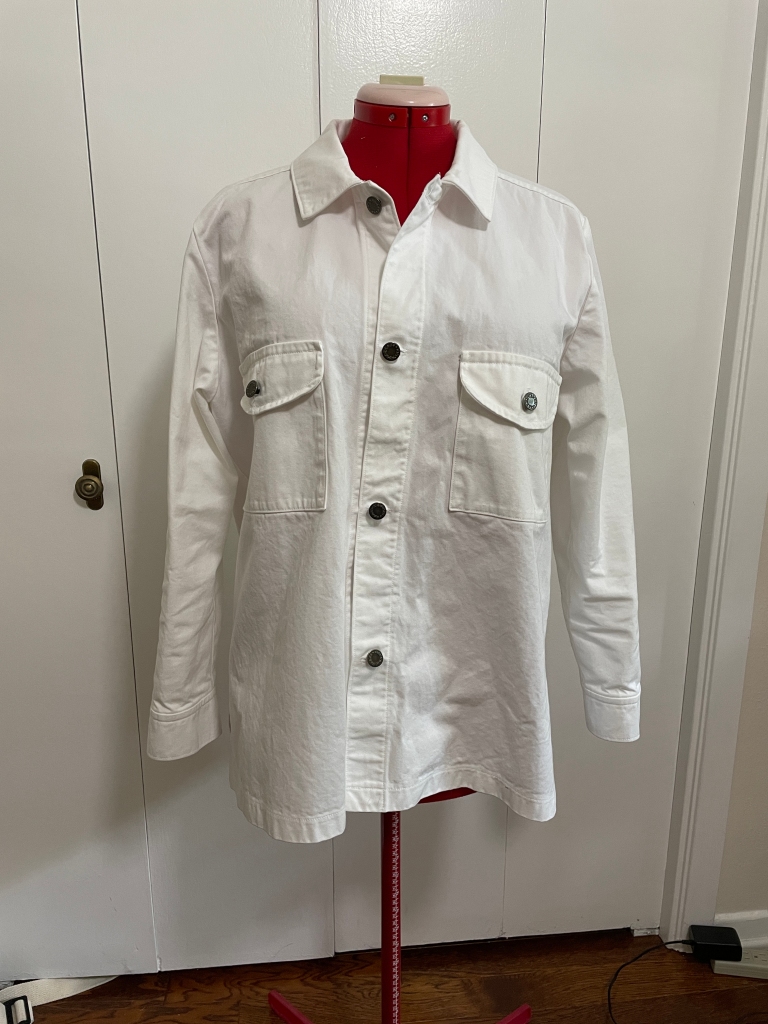
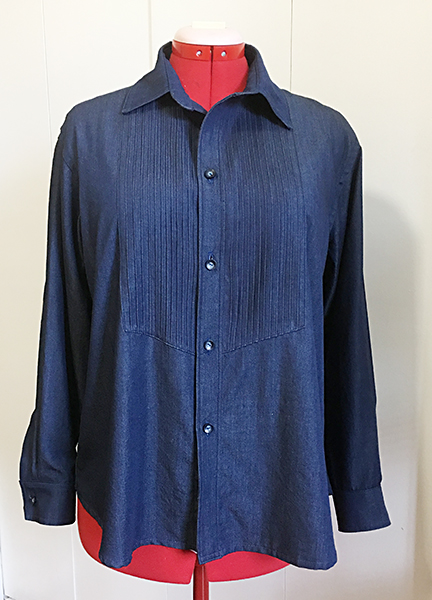 Another Ottobre shirt. For this one, I went back in the archives to find a shirt without front darts. This is model #18 from the 5/2014 issue. I wanted dartless because I wasn’t sure how they would act with the pintucked bib.
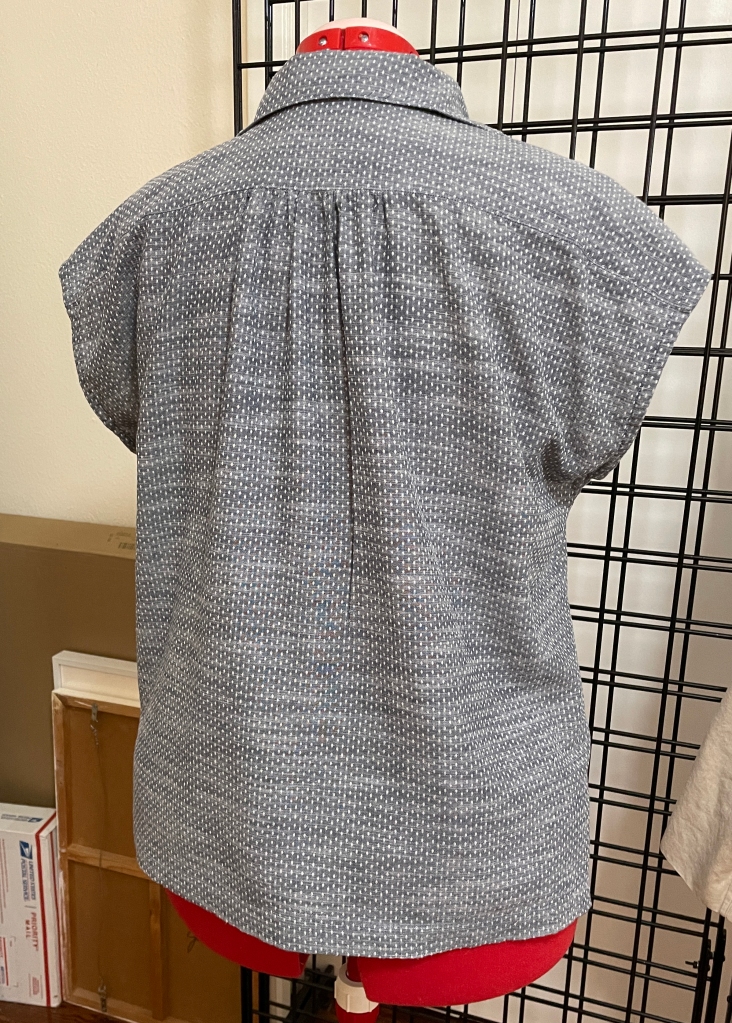
 There were a few changes made to the pattern. First, I decided that I wanted an applied bib front, rather than pintucks that were released or ran the length of the front. The bib is shaped with the bottom at an angle – longer at the center and shorter at the sindes. It seemed like a separate button band would be the best way to handle the center front, because there was a definite difference between the front and back of the fabric, and I wanted the seamlines and topstitching. So the right front was converted to a button band. The left has a cut-on facing. Of course, the pockets were left off, and I shortened the body 7 inches. Again, used real sleeve plackets instead of a binding.
 for real.
 This is an older pattern – the copyright is 2009 – but the three pieces in the Mixit don’t look old to me. I have made the tank many times and appreciate its higher neckline and close fitting armholes. The pattern also includes a short sleeve top with a keyhole neckline, and the shirt th
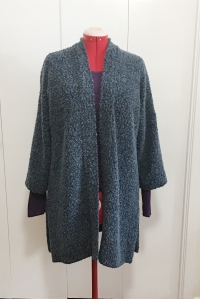 This is pattern #10 from the 5/2019 issue of Ottobre Woman. The pattern is designed to be made up with knits in contrasting textures: the body and sleeve are in a cable knit, and the front/neckband and an insert running down the shoulder seam and sleeve is made with coordinating ribbing. 3/4 sleeves to show off layering. Side vents. I really like their sample.
 The photo was taken with a long sleeved tshirt underneath to give an idea of the sleeve length.
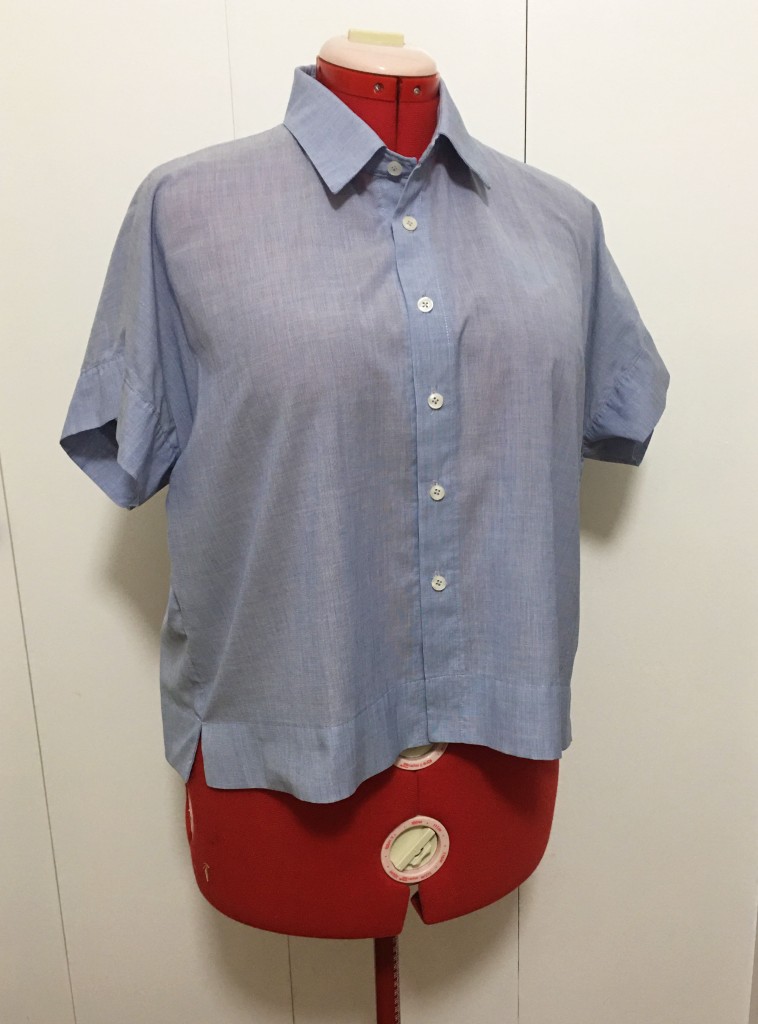
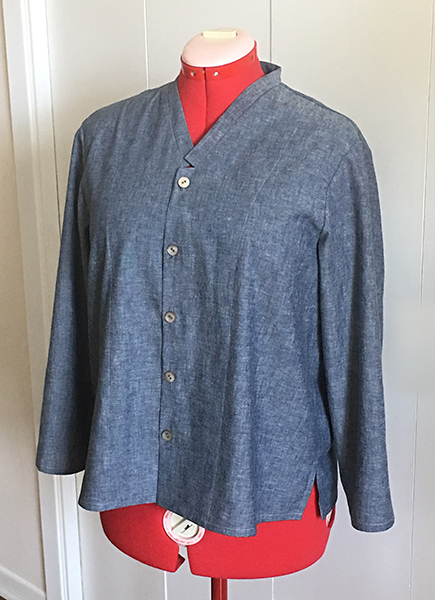
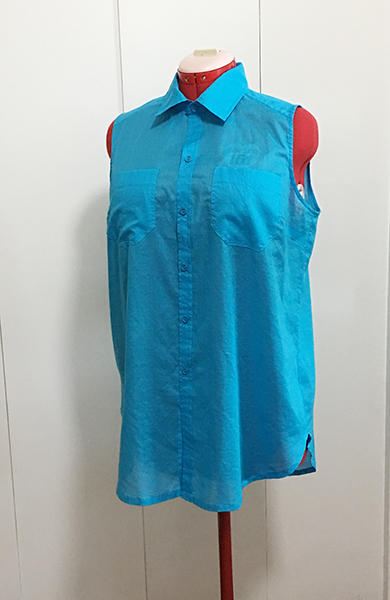 This pattern, “Buttondown”, is from the 2-2013 issue of Ottobre Woman; it is style #3. A tunic-length sleeveless shirt, it is very similar to Jalie’s Rose pattern, but has a cute yoke which is angled on the front and curves up in the back,. It also has a bit larger collar than the Rose, more like my designer inspiration.
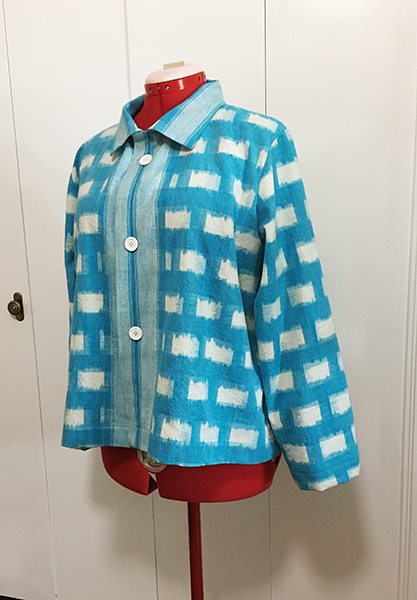 On an Ottobre kick. My MO for this project was to pick a stash fabric that I really wanted to make up – in this case a coarsely woven ikat – and pick a pattern that would make the best use of it.
 Not crazy about the buttons. JoAnns used to have a pretty good selection, but not any more. For shirts, that’s no problem. I go to the thrift store and for $1 buy a shirt with buttons I like. It’s not so easy with jacket buttons. So I bought some plain white ones at JA, even though they were shiny. Before sewing them on, I scuffed them up with sandpaper to remove the shine, because it just didn’t go well with the rustic weave. They are still too white, and one day when I have a better button selection I will replace them.